
Last updated October 31, 2026
 Architectural shingles
 Metal roofing
 Tile roofing
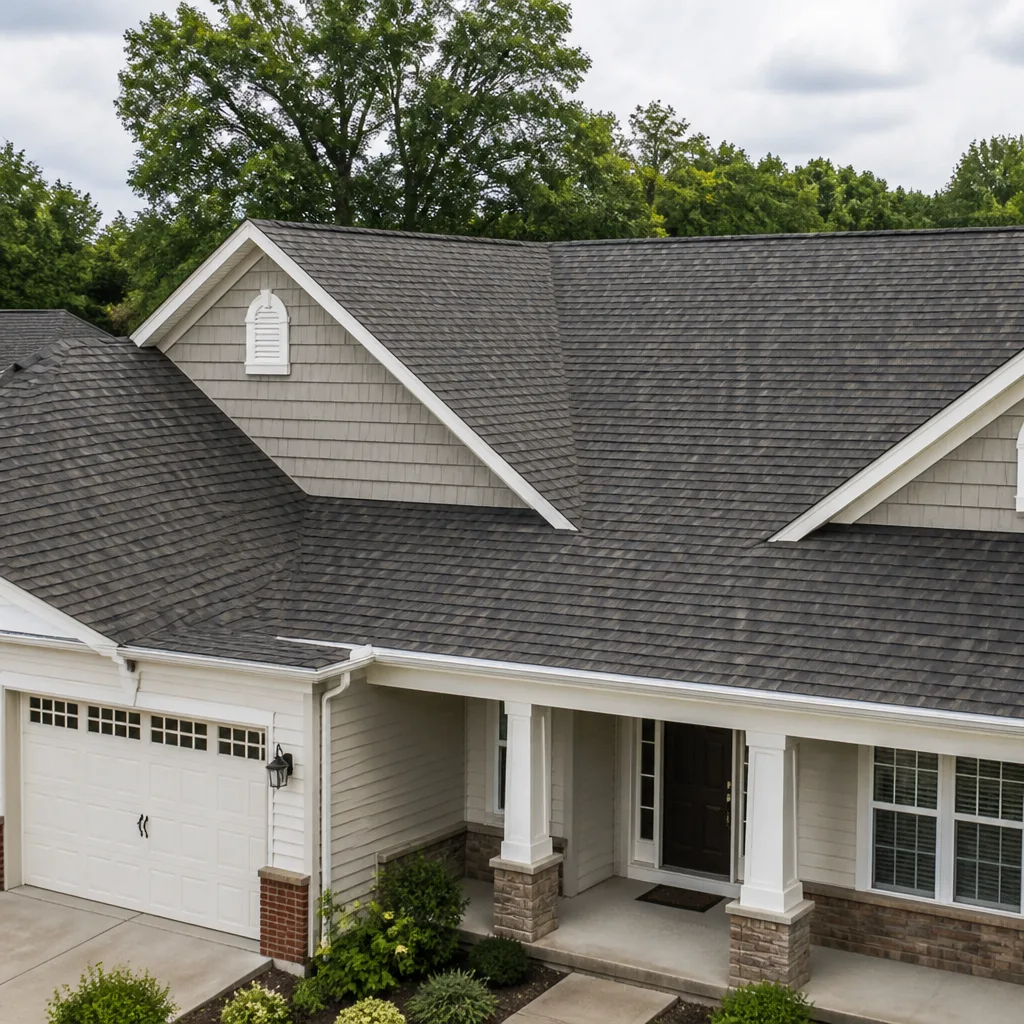 GAF
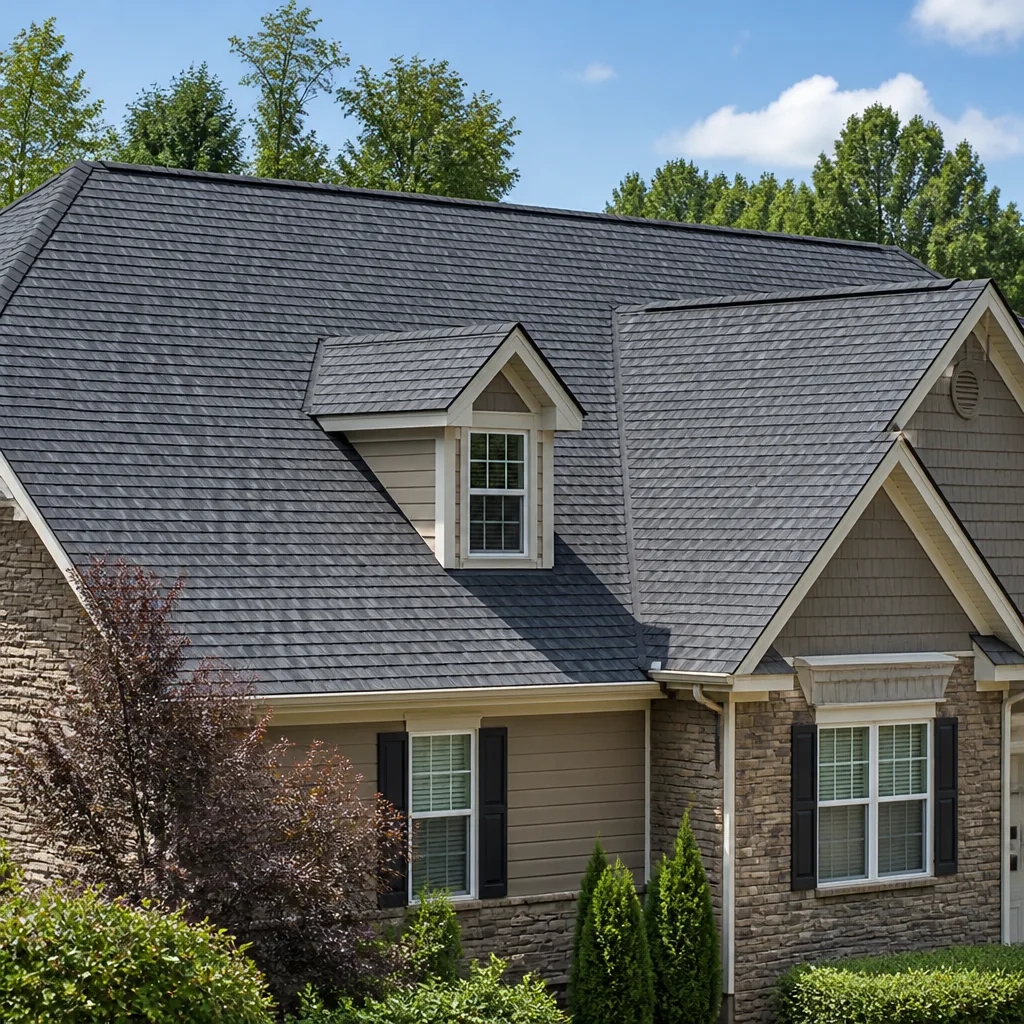 Owens Corning
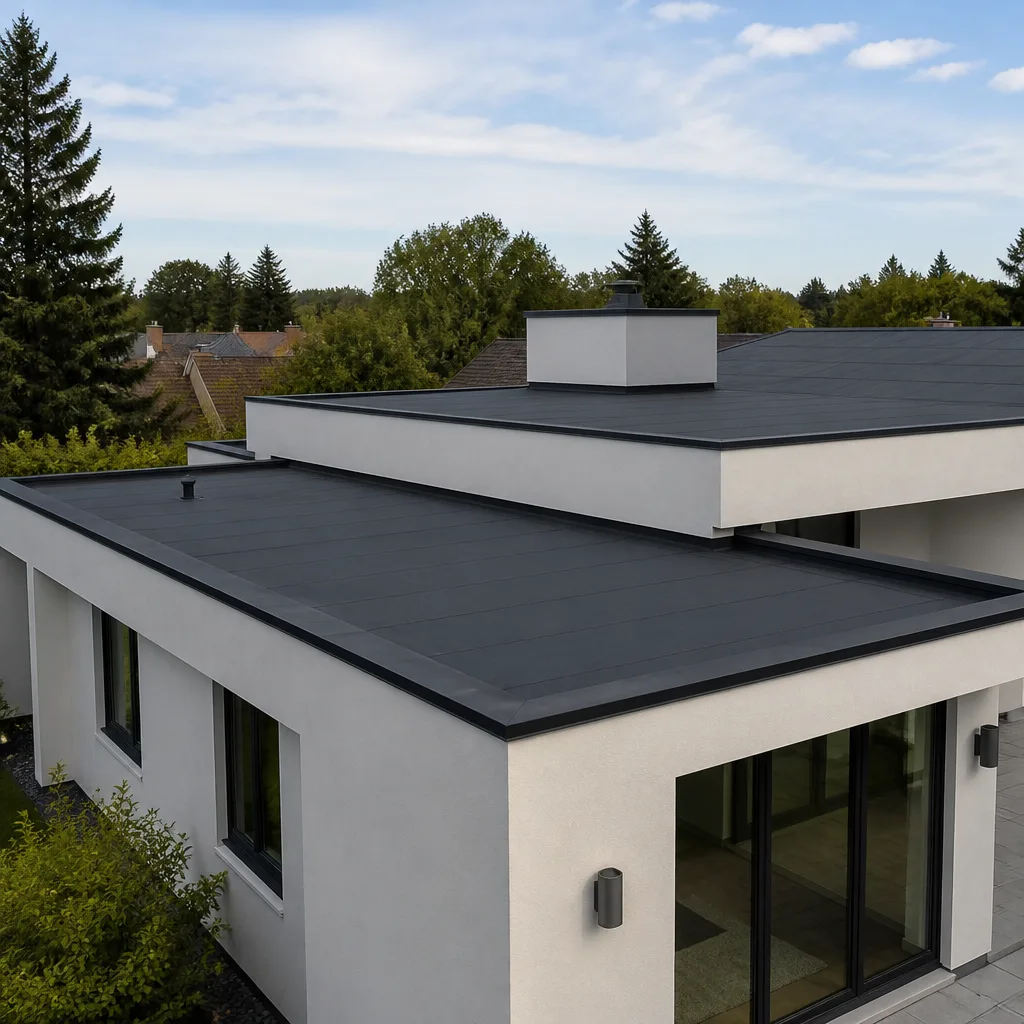 Flat & low-slope
Free roof inspection with deck photos before we talk money - GAF and Owens Corning certified installation
Roof Repair Troubleshooting: Common Problems and How to Fix Them
A ceiling stain is almost never directly below the leak source. Water hits the roof, runs along rafters or sheathing for feet, then drops where the decking sags or a joint catches it. That’s why pointing at a stain and asking a roofer to “fix that spot” so often fails. This guide traces each visible symptom back to its actual mechanical failure so you can have an informed conversation with a contractor instead of just describing water stains. We’ve worked on hundreds of roofs across Van Nuys, and the same pattern shows up again and again: homeowners misread the symptom, patch the wrong area, and the leak returns. Here’s how to avoid that.
Quick Answer
Roof Repair services start with reading the symptom correctly: stains on ceilings mean water traveled from somewhere else, granule loss in gutters means shingle wear, and buckling shingles usually mean ventilation failure, not water damage. The fastest way to isolate a leak is to trace it from the attic in daylight hours, not from the room where the stain appears. Once you know the failure mode, you can decide whether a repair or a full replacement is the right call, and we’ll tell you which one actually makes sense for your roof.
Styles & brands we work with
Table of Contents
- How to Trace a Leak From Ceiling Stain to Source
- The Four Failure Modes That Look Identical From Inside
- Blistering and Bubbling: Why It’s Not a Surface Fix
- Flashing Failure vs. Shingle Failure at Wall Transitions
- The Garden Hose Isolation Test (Safe to Run Yourself)
- Granule Loss in Gutters: When to Worry and When Not To
- How Van Nuys Heat and Sun Change the Repair Equation
- Common Mistakes to Avoid
- When to Call a Professional
- Frequently Asked Questions
How to Trace a Leak From Ceiling Stain to Source
The stain on your ceiling is the endpoint, not the origin. In our experience working on older Van Nuys homes with low-slope sections and composition shingles, water routinely travels 4 to 10 feet laterally before dropping. The direction it travels depends on rafter pitch, sheathing joints, and where the underlayment has a gap or a nail penetration. So the first job is to get into the attic with a flashlight and work backward.
Here’s the method we use on every repair call:
- Mark the stain’s exact location from inside the room. Measure from two fixed walls so you can find that same spot in the attic. Don’t eyeball it. A foot of error in the attic can send you to the wrong bay entirely.
- In the attic, find that marked point on the underside of the roof deck. Look up. The stain inside your room may correspond to a deck area that looks dry, because the water dropped there after running downhill from the actual entry point.
- Look uphill from that point, following the rafter lines. Water runs down the slope, so the entry point is above and upslope from where the drop happened. Trace every rafter bay that feeds that area.
- Scan for daylight pinholes, dark wet rings, or rusted nail heads. These mark entry points. Pay special attention to any penetration: plumbing vents, HVAC boots, exhaust fans, or old satellite dish mounts.
- Mark any suspect area with tape or chalk, then verify from the roof surface above. Correlation is everything. A wet spot in the attic that lines up with a visible roof defect is your answer.
This tracing method works on the majority of Van Nuys homes, but it gets harder with flat or very low-slope roofs where water ponds and moves unpredictably. If your attic inspection doesn’t reveal a clear path, the next section covers the failure modes that create confusion.
The Four Failure Modes That Look Identical From Inside
Here’s the part most troubleshooting guides skip: four different roof defects produce the same interior symptom, a brown ceiling stain near an exterior wall or under a valley. You can’t tell which one you have from inside the living room. The fix for each is completely different.
1. Granule loss and shingle failure. When shingles lose their ceramic granules, the asphalt base is exposed to UV. It dries, cracks, and eventually splits. Water enters through the crack, runs down the underlayment, and drops at the first deck joint. This is age-related and localized to sun-exposed slopes.
2. Flashing separation. Step flashing at a wall, sidewall, or chimney is meant to be tucked under each shingle course. Over time, thermal expansion pulls the metal away from the wall, or the sealant dries out. Water enters at the wall line and tracks down along the flashing, often showing up halfway down the wall, not at the top.
3. Pipe boot failure. The rubber collar around a plumbing vent pipe degrades from heat and ozone. In the San Fernando Valley, boots crack faster than on the coast because of the sustained summer heat. The leak is small but persistent, and it hits the ceiling exactly under the pipe if the pipe run is straight.
4. Ridge cap lift. Ridge caps are the shingles bent over the peak. If the nails back out or the shingles curl, wind-driven rain enters at the ridge and runs down inside the attic. This one often shows up as two parallel stains on opposite walls near the center of the house, not one stain near an edge.
To distinguish these from the attic: granule loss shows as cracked or bare shingle mats from outside. Flashing failure shows as a gap or rust line at the wall junction. Pipe boot failure shows as a cracked or shrunken rubber collar around the vent pipe. Ridge cap lift shows as lifted or missing cap shingles at the peak. If you can get eyes on the suspect area, the right fix becomes obvious. If not, call us for a Roof Inspection in Van Nuys. We inspect first, recommend second.
Blistering and Bubbling: Why It’s Not a Surface Fix
Blisters on shingles look like small, raised bumps. Bubbles are larger, sometimes the size of a dime or bigger. Neither is caused by water, so patching them with sealant or coating does nothing. Blistering comes from either a manufacturing defect where moisture was trapped in the mat during production, or from inadequate attic ventilation causing the shingle to heat beyond its design temperature. In Van Nuys, where summer roof surface temperatures regularly exceed 160°F, ventilation-related blistering is common on older homes with insufficient ridge or soffit vents.
Here’s what happens when roofers treat blisters as a surface repair problem: they apply a sealant or a patch, the shingle continues to heat and expand, and the blister cracks anyway. The client pays for a repair that fails within a season. The honest answer is that blistered shingles can’t be un-blistered. The underlying cause has to be addressed by improving attic ventilation, and the damaged shingles need replacement. On a roof with widespread blistering, a Roof Replacement in Van Nuys is usually the more cost-effective long-term move than chasing individual shingles.
Manufacturing-related blistering is trickier to diagnose. It tends to appear uniformly across the roof within the first few years, regardless of sun exposure. Ventilation-related blistering clusters on the hottest slopes, typically south and west facing. If you have blisters on one slope but not another, that’s a ventilation hint. If they’re everywhere, it’s the mat. Either way, the brand matters: GAF and CertainTeed have different ventilation requirements in their installation specs, and roofs with Owens Corning shingles also respond differently to heat than certain Tamko lines. A contractor who knows multiple brands knows how to investigate this properly, because the diagnostic path isn’t identical across products.
Flashing Failure vs. Shingle Failure at Wall Transitions
When water appears at the line where a sloped roof meets a vertical wall, homeowners often assume the shingles are bad. Just as often, the shingles are fine and the flashing is the problem. These two failures require completely different fixes, so misdiagnosis leads to wasted money.
Shingle failure at a wall transition shows up as cracked, curled, or missing shingles at the bottom of the slope, where the roof meets the sidewall. The fix is localized: replace the damaged shingles, check the underlayment beneath them, and move on. This is a small repair, often under a few hundred dollars depending on the slope and access.
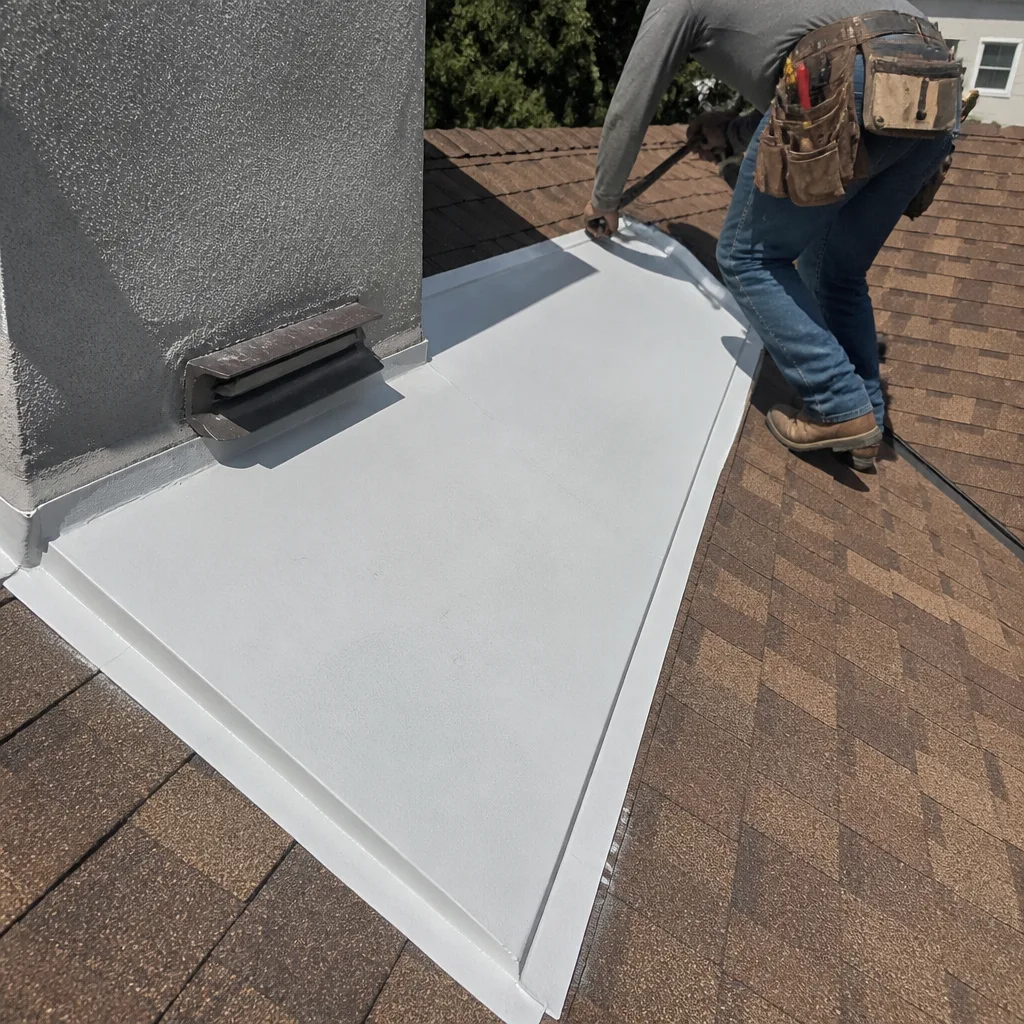
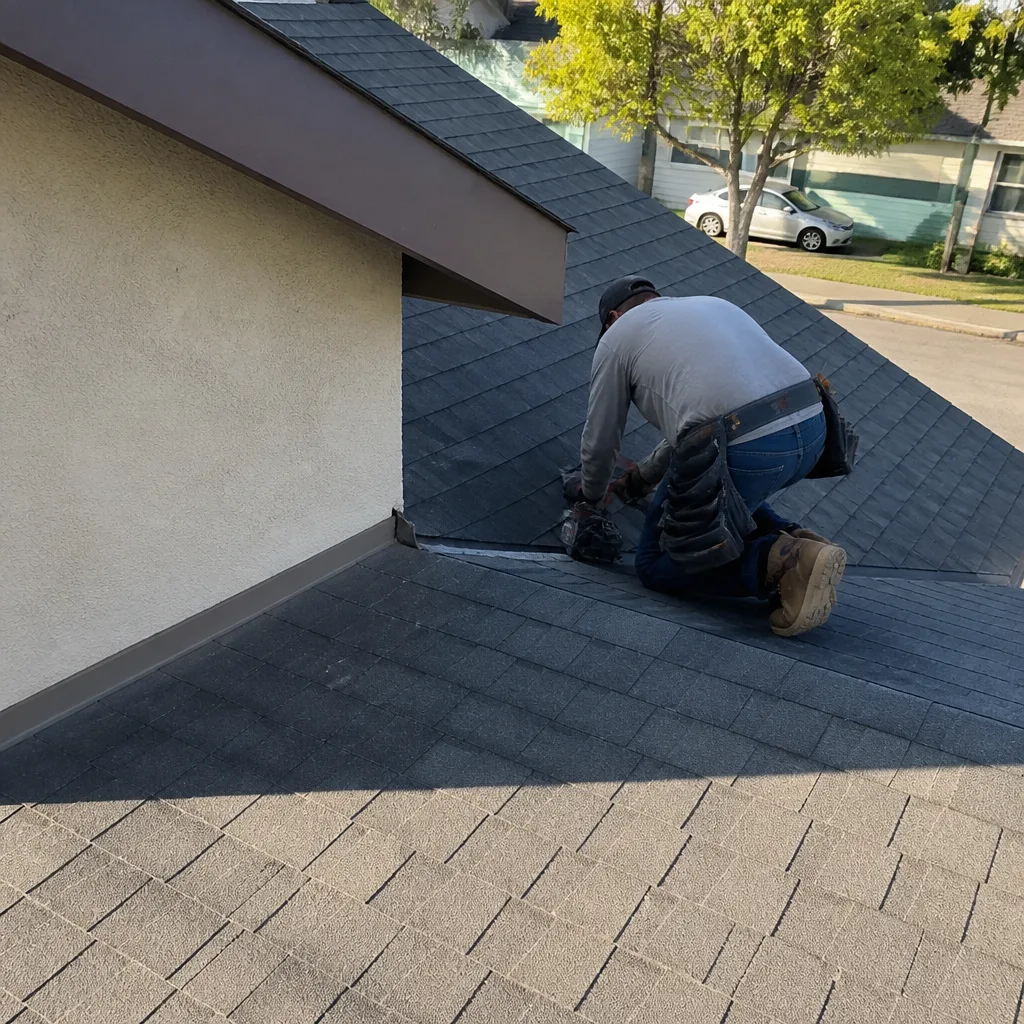
Flashing failure at the same transition shows up as a gap between the wall siding and the roof surface, a visible rust line, or dried and cracked sealant along the metal edge. Water enters the gap and runs down behind the siding into the wall cavity. The fix involves removing shingles along the wall line, replacing or re-bending the step flashing, and reinstalling. This is not a patch job. Proper step flashing at a wall-to-roof transition requires each piece of metal to overlap the shingle below it in a specific sequence. Get it wrong and the leak returns in the next rain.
From the attic, you can sometimes tell the difference by looking at the deck sheathing near the wall. If the wood is wet directly against the wall line, it’s flashing. If the wetness starts farther down the slope away from the wall, it’s shingle. That distinction saves a lot of wrong fixes. And if you’re weighing repair versus replacement because the flashing has been failing repeatedly, we’ll tell you which one actually makes sense, not which one costs more.
The Garden Hose Isolation Test (Safe to Run Yourself)
The one diagnostic test a homeowner can safely run is a controlled water application with a garden hose. This is not the same as spraying the roof randomly. Done correctly, it isolates the leak zone before you ever call a contractor, which saves diagnostic time on the repair visit.
- Wait for a dry day. The roof surface and attic should be dry so you can see new wetness clearly. Overcast but dry works too, but not after rain.
- Start at the lowest suspect point. Run a low-pressure stream at the area below any suspected penetration. Let it soak for 2 to 3 minutes while someone inside or in the attic watches for water entry.
- Move upslope in 2-foot increments. Stop at each increment. The moment water shows up inside, you’ve found the entry elevation. Mark it immediately.
- Narrow laterally. Once you know the height, move left and right along that horizontal line to find the exact penetration. This isolates the leak to one specific area, often one pipe boot or one flashing seam.
- Never spray water uphill from a suspected area. That defeats the entire test because water runs down and enters everywhere below the spray point.
This test works especially well on pipe boots, valley flashing, and wall transitions. It works less well on ridge leaks, because wind-driven rain acts differently than a direct spray. If the hose test points to a pipe boot or a flashing seam, that’s a targeted repair call. If the point of entry remains unclear after the test, the next step is a professional attic-to-roof investigation.
Granule Loss in Gutters: When to Worry and When Not To
Finding granules in your gutters is not automatically bad. New shingles shed excess granules in the first few months after installation, especially on steep slopes. The granules are pressed onto the mat during manufacturing and not all of them bond firmly. Light shedding early on is normal. What’s not normal is a steady stream of granules years into the roof’s life, or bare asphalt patches visible on the shingle surfaces.
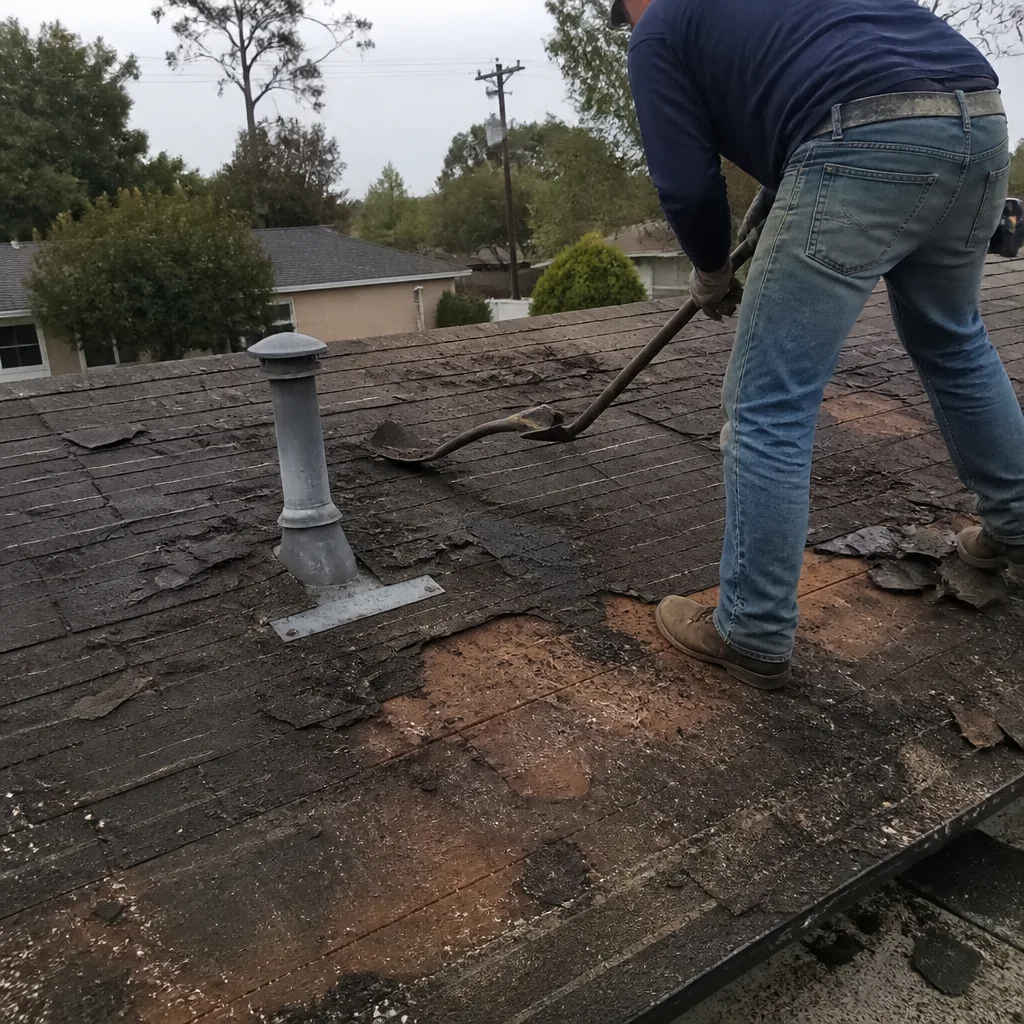
The difference: early shedding shows up as scattered granules in the gutter with no visible bald spots on the roof. Late-stage granule loss shows as smooth, dark patches on shingle surfaces, especially on sun-facing slopes in Van Nuys. Once the granules are gone, the asphalt oxidizes fast. Cracks follow. This is the failure path of an aging roof, and no coating or spray-on product reverses it. If your gutters are filling with granules every time it rains and the shingles look slick in patches, the roof is telling you it’s approaching the end of its service life.
One brand-specific note: some product lines, like certain Atlas and IKO shingles, have different granule retention characteristics due to the manufacturing process. Boral and CertainTeed also vary. Our installers know these differences because we work across multiple brands rather than stocking one and selling it to everyone. That breadth matters when you’re evaluating whether your granule loss is normal for your shingle product or a sign of premature failure.
How Van Nuys Heat and Sun Change the Repair Equation
Van Nuys is not a mild climate for roofing. Summer air temperatures in the high 90s translate to roof surface temperatures above 160°F, and those temperatures hold for months. UV exposure is intense, with little coastal fog to moderate it. This has specific, predictable effects on roofing materials.
Rubber pipe boots dry and crack faster here than in cooler or coastal markets. Sealant at flashing junctions bakes out in 3 to 5 years instead of 10. Composition shingles lose granules on south and west slopes far earlier than on north slopes. Wood decking expands and contracts aggressively with the temperature swings between hot days and relatively cool nights. Nails back out. Shingles lift slightly. All of these are accelerated by the local climate, which means a roof that would have a 25-year service life in a temperate climate may need major repairs at 15 to 18 years in Van Nuys.
This is also why manufacturer installation specs matter so much. GAF, CertainTeed, Owens Corning, IKO, Atlas, Tamko, and Boral all publish climate-specific installation requirements. Nail placement, underlayment type, ventilation ratios, and even shingle exposure can change the roof’s heat tolerance. A crew that installs every brand the same way is creating problems. Our position is simple: seven leading brands, one crew that knows them all. That’s not a slogan, it’s the difference between a roof that holds up in Van Nuys heat and one that doesn’t.
Common Mistakes to Avoid
- Patching the stain instead of tracing the source. A stain is a symptom. Painting over the ceiling without fixing the entry point guarantees the stain returns, often bigger.
- Caulking over flashing instead of replacing it. Sealant buys a season at best. Once flashing has pulled away from a wall, caulk will fail again in the next heat cycle. The metal needs to be re-bent or replaced.
- Ignoring attic ventilation when repairing heat-damaged shingles. In Van Nuys, poor ventilation causes shingle blistering and premature aging. If you replace heat-damaged shingles without adding ventilation, the new shingles will fail the same way.
- Replacing all the shingles when only the flashing is bad. Or the reverse. Misdiagnosing the failure mode means paying for a repair that doesn’t address the actual problem.
- Skipping the attic inspection entirely. Many leaks are visible from the attic long before they show up on the ceiling. Waiting for the interior stain means the decking is already wet, which invites rot and mold.
- Believing a roof repair estimate without seeing a written line-item breakdown. A verbal number without a scope of work and material list is not an estimate, it’s a guess. At Van Nuys Roofing Co, we provide written, line-item quotes with no change orders.
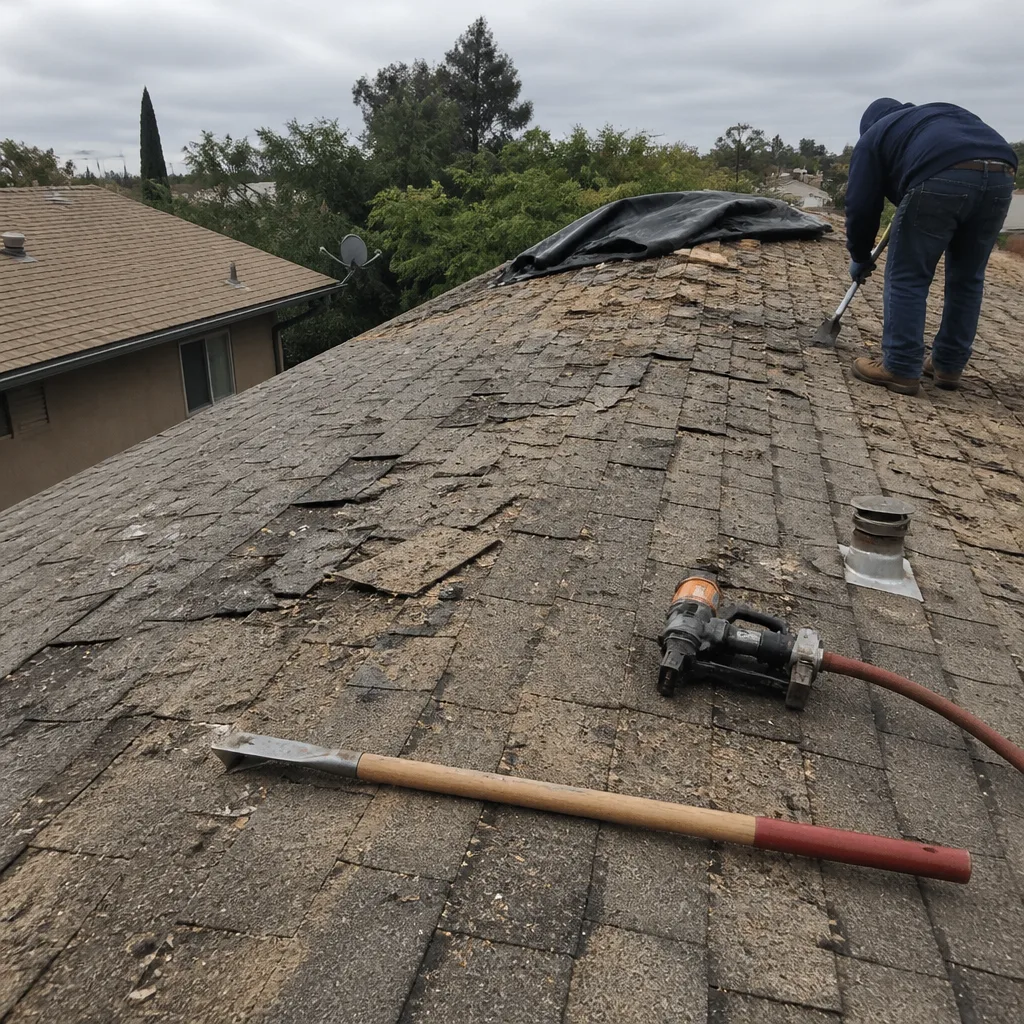
- Putting a new roof over a failing one without addressing decking or ventilation. A reroof over rotted decking or inadequate ventilation is a future failure waiting to happen. Some roofs need a full tear-off and replacement.
When to Call a Professional
Call a roofer when the leak is active and you can’t identify the entry point from the attic. Call when you see multiple failure signs at once: granules in the gutters plus a ceiling stain plus curled shingles. That pattern suggests the roof is aging out systemically, not failing in one spot. Call when the damage is at a roof-to-wall transition, a chimney, or a skylight, because those junction failures are rarely simple. Call when roof work requires being on a steep slope or a two-story section. Falls are the most common serious injury in home maintenance, and a roof that looks walkable from the ground may not be safe once you’re on it. In all these cases, Van Nuys Roofing Co offers free estimates in Van Nuys. Call (866) 321-6172 and we’ll come out, inspect the roof, and tell you what’s actually wrong before we recommend any repair or replacement.
Frequently Asked Questions
Wait for a dry day and run the garden hose isolation test described above, starting at the lowest suspect point and moving upslope in 2-foot increments while someone watches the attic. The moment water shows up, you’ve found the entry elevation. If you can’t isolate it that way, schedule a professional roof inspection in Van Nuys, because dry stains are often tracked back to the original entry point using attic evidence.
Most targeted roof repairs in Van Nuys fall in a range from a few hundred dollars for a simple pipe boot or shingle replacement to $1,500 to $3,500 for flashing replacement at wall transitions or valley repairs, depending on access, slope, and the material involved. For a detailed look at what drives these numbers, see our Roofing Cost Breakdown: The Van Nuys Homeowner’s Reference for 2026. That’s a general market range, not a quote. Call (866) 321-6172 for a written, line-item estimate on your specific issue.
It shouldn’t, if your estimate is written and line-itemed. At Van Nuys Roofing Co, we quote fixed prices based on the scope we can see and document. The exceptions are hidden damage discovered during the repair, like rotted decking under the shingles. We show you what we found, photograph it, and get your approval before adding any work.
Most isolated repairs don’t require permits, but any structural repair, significant replacement, or work that changes the roof system can. We handle the permit process as part of the job when the city code requires it. Our policy is to comply with Van Nuys and Los Angeles building requirements, never to work around them.
We can often address the immediate entry point the same day if the leak is active and the fix is a targeted one, like a pipe boot or small flashing repair. Larger or more complex repairs get scheduled once we’ve determined the full scope. The priority is stopping water entry fast and doing the permanent repair correctly.
We’re experienced with GAF, CertainTeed, Owens Corning, IKO, Atlas, Tamko, and Boral. That matters because each brand has its own installation specs, warranty terms, and performance characteristics. Your roof, your material choice. We recommend the product that fits your roof’s design and your budget, not the one we happen to stock.
The Bottom Line
Roof repair troubleshooting is diagnosis before repair. A ceiling stain is a directional clue, not a target. The four failure modes that look identical from inside, granule loss, flashing separation, pipe boot failure, and ridge cap lift, each need a different fix. Blistering is a ventilation or manufacturing problem, not a surface patch. Flashing and shingle failures at wall transitions are separate conditions with separate repairs. And in Van Nuys, heat and UV accelerate every one of these failures. If you want the honest version, call us for an inspection first. We’ll tell you what’s actually wrong, what it costs to fix, and whether repair or replacement is the smarter long-term move. Estimate is free. The number is (866) 321-6172.
Written by the team at Van Nuys Roofing Co, serving Van Nuys since 2015. Van Nuys Roofing Co home | Roof Repair in Van Nuys | Roof Replacement in Van Nuys
See the difference
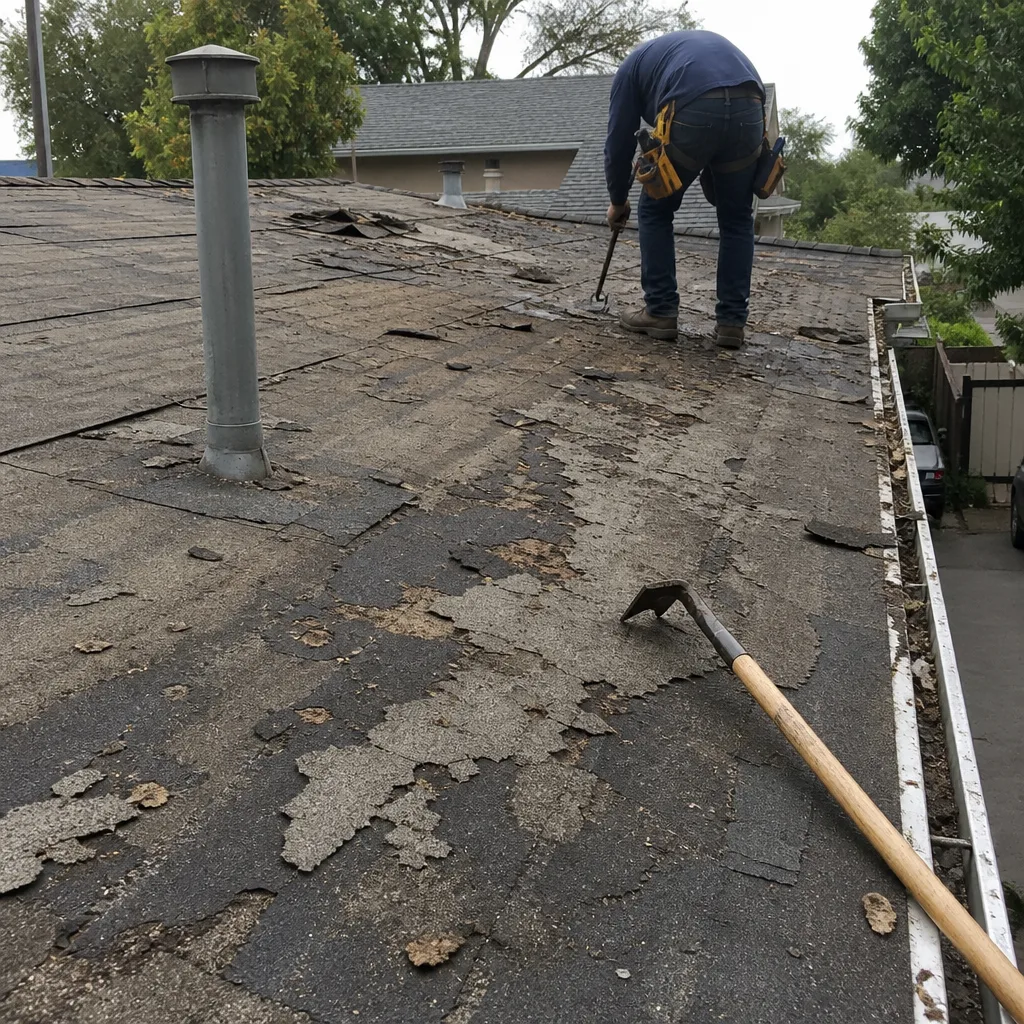 Before
 After
 Before
 After
 Before
 After